Install Microsoft SQL Server On Ubuntu 17.04
Exciting mater is that we’re going to install Microsoft SQL Server on Ubuntu Linux. I’ve been working on SQL Server from last fourteen years. Many times, I’m to face many common words “Is your Application database can be installed on Linux platform?”, need additional licensing cost to buy OS for database server and Database server installation on Linux is more secure, … etc. Some time I feel people are not so well-informed about Linux OS and commands. It’s treated as mysterious island and fearful then Windows. Few people’s assumption or mindset is database server installation on Linux is safer. But safety and security depends on many initiative that we should follow. In the Post “Ubuntu VM creation on Azure ” it was described how can we setup an Virtual Machine. Now were going towards the installation of SQL Server 2017 on Ubuntu.
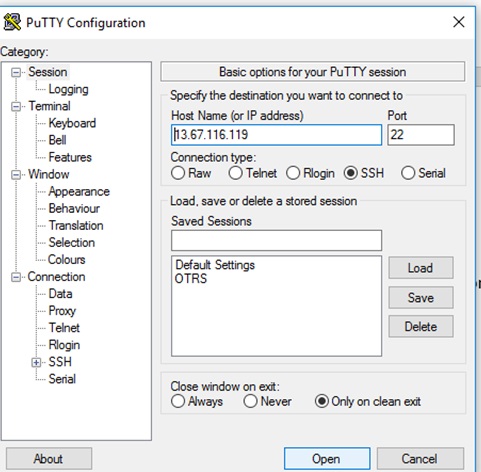
1. We’re using use Putty to connect our VM. For on premises, we need to configured and enabled internet connection.
Notes: PuTTY is a free and open-source terminal emulator, serial console and network file transfer application. It supports several network protocols, including SCP, SSH, Telnet, rlogin, and raw socket connection.
2. You can install it or run the executable file(exe). Initially we use Putty to access our Ubuntu VM. After that we can use xrdp as remote desktop tools. Now copy your VM IP address and put the IP address in the Host Name for IP address and press ‘Open’ button:
curl https://packages.microsoft.com/keys/microsoft.asc | sudo apt-key add -
curl https://packages.microsoft.com/config/ubuntu/16.04/mssql-server.list | sudo tee /etc/apt/sources.list.d/mssql-server.list
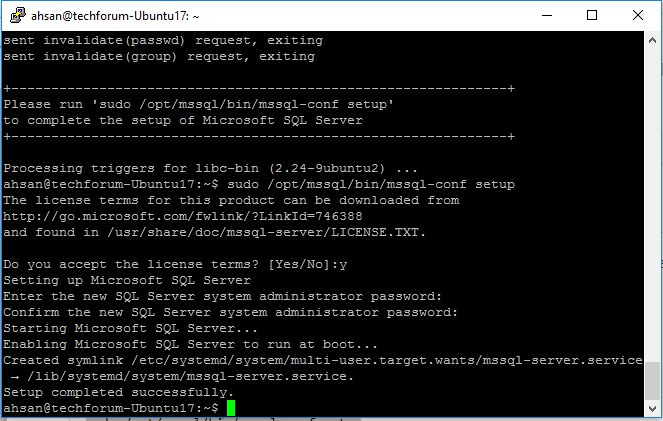
sudo apt-get update
sudo apt-get install -y mssql-server
7. When the package installation will be finished, we have to run ‘mssql-conf’ setup and ensure we agree to accept the license term. Then Enter the SQL Server system administrator password. Make sure to specify a strong password for the SA account (Minimum length 8 characters, including uppercase and lowercase letters, base 10 digits and/or non-alphanumeric symbols).
sudo /opt/mssql/bin/mssql-conf setup
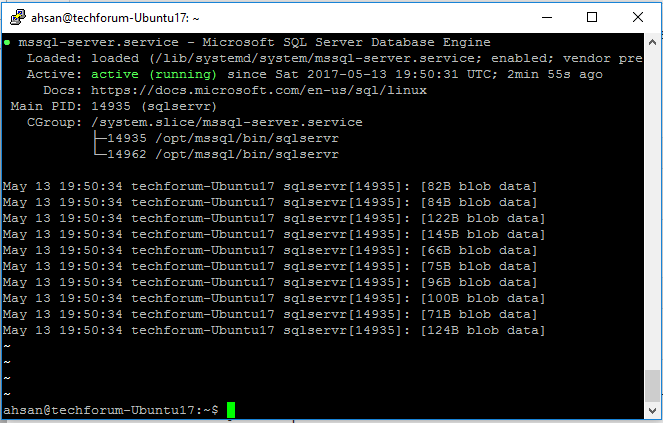
- Once the configuration is done, verify that the service is running:
systemctl status mssql-server
- Connect to the server from Linux we need to install the ‘mssql-tools’ package, which comes from a different repository than the one that we just set up. It can be found here:
sudo apt-get update
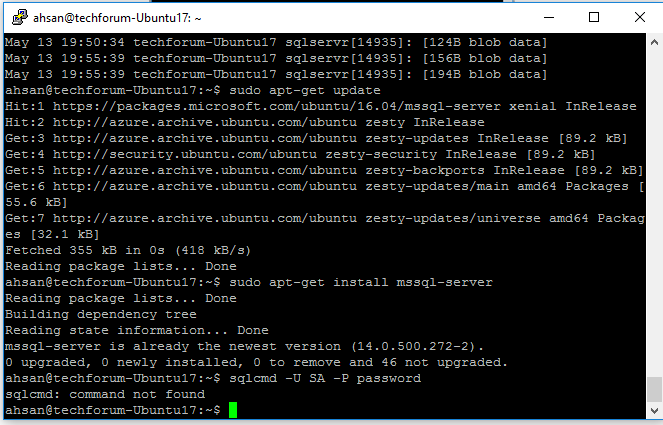
- Install the mssql-tools on Ubuntu.First Step Import the public repository GPG keys
curl https://packages.microsoft.com/keys/microsoft.asc | sudo apt-key add –
curl https://packages.microsoft.com/config/ubuntu/16.04/prod.list | sudo tee /etc/apt/sources.list.d/msprod.list
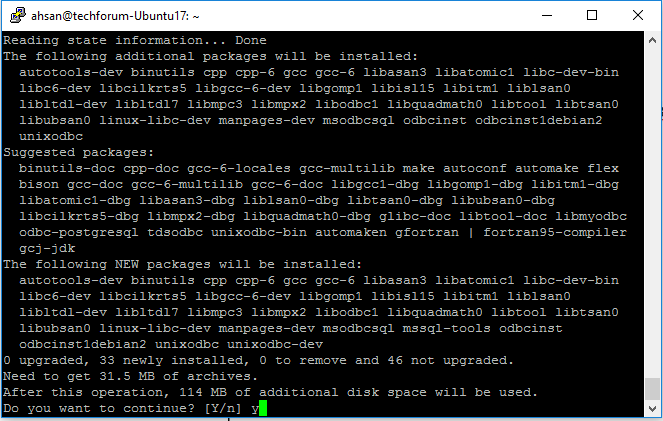
sudo apt-get update
sudo apt-get install mssql-tools unixodbc-dev
System will ask you to do continue ? Press YES
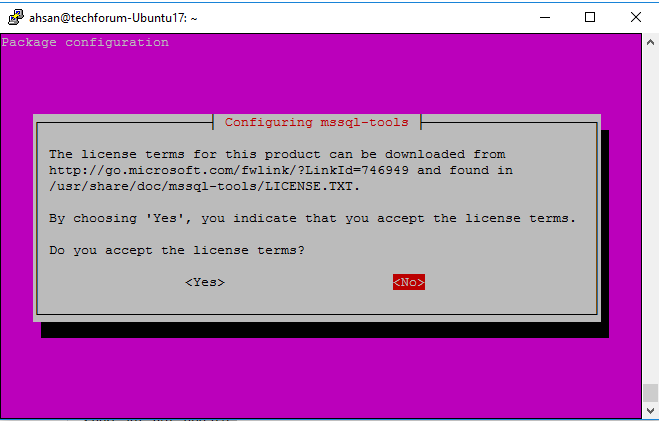
- At the time of configuration mssql-tools ,License Acceptance term will be appear Press Yes
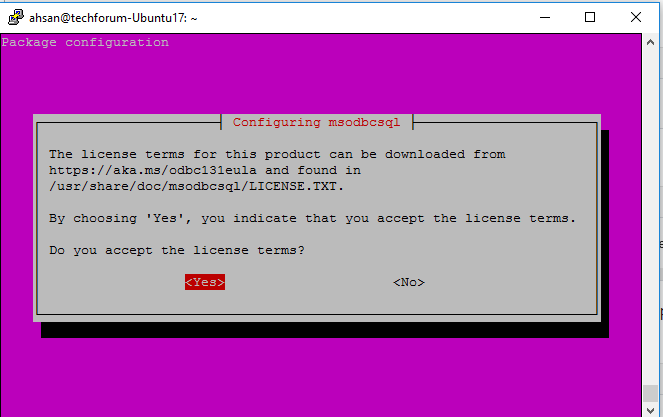
- Configuration msodbcsql option completion require your authentication of YES.
echo 'export PATH="$PATH:/opt/mssql-tools/bin"' >> ~/.bash_profile
echo 'export PATH="$PATH:/opt/mssql-tools/bin"' >> ~/.bash_profile
- First of all, let’s see how this tool is called on your system. It might be called something like sqlcmd-13.0.1.0 or simply sqlcmd but it should be in /opt/mssql-tools/bin/ directory. Let’s see what we have there:
ls /opt/mssql-tools/bin/sqlcmd*
ln -sfn /opt/mssql-tools/bin/sqlcmd /usr/bin/sqlcmd
sudo ufw allow 1433/tcp
sudo service network-manager restart
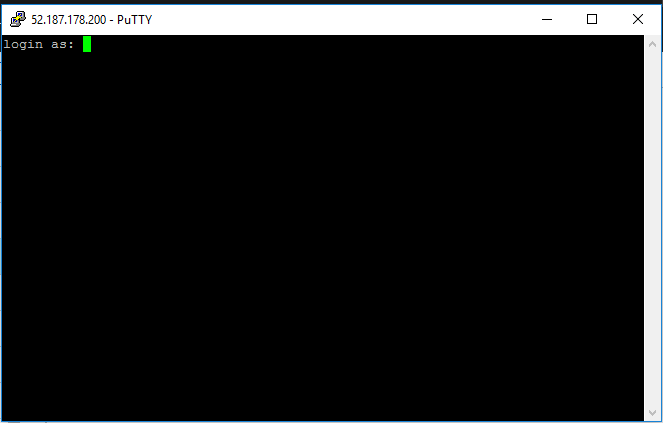
- Now we login to the server and execute simple sql
sqlcmd -S localhost -U SA

Execute following SQL

SELECT @@VERSION
2> GO