<div class="MsoNormal" style="margin:0 0 8pt;">The article describe the ETL process of integration service. Learning objectives:</div>
<div class="MsoListParagraphCxSpFirst" style="margin:0 0 0 48pt;text-indent:-.25in;">1. Retrieve data from text file </div>
<div class="MsoListParagraphCxSpMiddle" style="margin:0 0 0 48pt;text-indent:-.25in;">2. How to use temporary tables in SSIS</div>
<div class="MsoListParagraphCxSpLast" style="margin:0 0 8pt 48pt;text-indent:-.25in;">3. Life Cycle of SSIS.</div>
<div class="MsoNormal" style="margin:0 0 8pt;">This article is for who want to learn SSIS and want to start the data warehousing jobs.</div>
<div class="MsoListParagraphCxSpFirst" style="margin:0 0 0 .5in;text-indent:-.5in;">Step :1 Before installation you have to see the Pre-request for installation Hardware and Software Requirements for Installing SQL Server 2014</div>
<div class="MsoListParagraphCxSpMiddle" style="margin:0 0 0 .5in;"> </div>
<div class="MsoListParagraphCxSpMiddle" style="margin:0 0 0 .5in;text-indent:-.5in;">Step :2 At the time of MS SQL Server installation, you need to select Integration Services for installation.</div>
<div class="MsoListParagraphCxSpMiddle" style="margin:0 0 0 .5in;">To know Details Installation Guide line and installation scenarios say previous version is installed on your machine, you want to upgrade previously installation, your machine is 64-bit etc.</div>
<div class="MsoListParagraphCxSpMiddle" style="margin:0 0 0 .5in;text-indent:-.5in;">Step :3 Open new Integration Services project :</div>
<div class="MsoListParagraphCxSpMiddle" style="margin:0 0 0 .5in;">3.1 On the Start menu > Scroll and click SQL Server Data Tools. </div>
<div class="MsoListParagraphCxSpMiddle" style="margin:0 0 0 .5in;"> </div><div class="MsoListParagraphCxSpMiddle" style="margin:0 0 0 .5in;"> <div class="separator" style="clear:both;text-align:center;">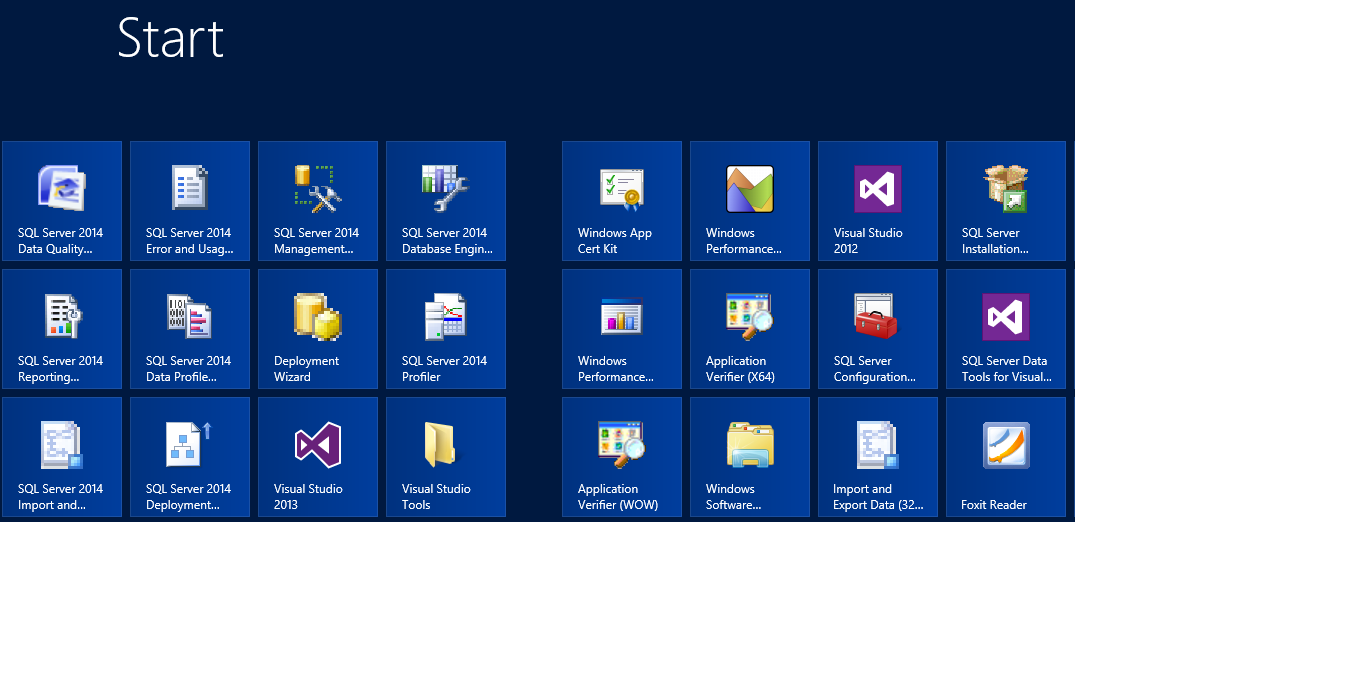 </div>
3.2 File Menu > New > Click on Integration Services Project template
<div class="MsoListParagraphCxSpMiddle" style="margin:0 0 0 .5in;"> </div>
<div class="MsoListParagraphCxSpMiddle" style="margin:0 0 0 .5in;"> </div>
<div class="MsoListParagraphCxSpMiddle" style="margin:0 0 0 .5in;"> </div>
<div class="MsoListParagraphCxSpMiddle" style="margin:0 0 0 .5in;text-indent:-.5in;">Step :4 Now a project has opened and solution explorer is visible on the right side.</div>
<div class="MsoListParagraphCxSpMiddle" style="margin:0 0 0 .5in;"> </div>
<div class="MsoListParagraphCxSpMiddle" style="margin:0 0 0 .5in;"> </div>
<div class="MsoListParagraphCxSpMiddle" style="margin:0 0 0 .5in;"> </div>
<div class="MsoListParagraphCxSpMiddle" style="margin:0 0 0 .5in;text-indent:-.5in;">Step :5 Download the Adventure Works Sample Database</div>
<div class="MsoListParagraphCxSpMiddle" style="margin:0 0 0 .5in;"> </div>
<div class="MsoListParagraphCxSpMiddle" style="margin:0 0 0 .5in;text-indent:-.5in;">Step :6 Now we are going to make connection with flat file from where we are going to import data. Right-click in the Connection Managers area >Select New Flat File Connection.</div>
<div class="MsoListParagraphCxSpMiddle" style="margin:0 0 0 .5in;"> </div>
<div class="MsoListParagraphCxSpMiddle" style="margin:0 0 0 .5in;"> </div>
<div class="MsoListParagraphCxSpMiddle" style="margin:0 0 0 .5in;"> </div>
<div class="MsoListParagraphCxSpMiddle" style="margin:0 0 0 .5in;"> </div>
<div class="MsoListParagraphCxSpMiddle" style="margin:0 0 0 .5in;text-indent:-.5in;">Step :7 Now “Flat File Connection Manager Editor” dialog box will be appear. By default the General option is selected.</div>
<div class="MsoListParagraphCxSpMiddle" style="margin:0 0 0 .75in;text-indent:-.25in;">1. Assign Path: browse text File location.</div>
<div class="MsoListParagraphCxSpMiddle" style="margin:0 0 0 .75in;text-indent:-.25in;">2. Set Delimiter: File format need to be select within delimited, fixed width and Ragged Right.</div>
<div class="MsoListParagraphCxSpMiddle" style="margin:0 0 0 .75in;text-indent:-.25in;">3. Header row delimited: Text file contain the header file then delimiter need to be select with available options.</div>
<div class="MsoListParagraphCxSpMiddle" style="margin:0 0 0 .75in;text-indent:-.25in;">4. Column Names in the first data row: The check box also need to be select because the first row contain the column name.</div>
<div class="MsoListParagraphCxSpMiddle" style="margin:0 0 0 .5in;"> </div>
<div class="MsoListParagraphCxSpMiddle" style="margin:0 0 0 .5in;"> </div>
<div class="MsoListParagraphCxSpMiddle" style="margin:0 0 0 .5in;"> </div>
<div class="MsoListParagraphCxSpMiddle" style="margin:0 0 0 .75in;text-indent:-.25in;">5. Click on the Column option and following view will be appear.</div>
<div class="MsoListParagraphCxSpMiddle" style="margin:0 0 0 .75in;"> </div>
<div class="MsoListParagraphCxSpMiddle" style="margin:0 0 0 1in;text-indent:-.25in;">1. Row delimiter: By default {CR}{LF} is selected as row delimiter. You have to select delimiter according to the text file nature.</div>
<div class="MsoListParagraphCxSpLast" style="margin:0 0 8pt 1in;text-indent:-.25in;">2. Column delimiter: Again you have to select the Column delimiter.</div>
<div class="MsoNormal" style="margin:0 0 8pt .75in;">All the data of text file will be appear on the Preview section if the delimiter is selection corrected. Otherwise no data will be viewable on there.</div>
<div class="MsoNormal" style="margin:0 0 8pt .75in;"> </div>
<div class="MsoListParagraphCxSpFirst" style="margin:0 0 0 .75in;text-indent:-.25in;">6. Click on the Advance now the following view will be appear. Here available column and corresponding nature of data has appeared .From here you can change column name, data type and few other listed options. Also you can create new columns and suggest types. Whenever text file don’t have any column header then then default value will be Column 0, Column 1 ,.. so on. But in the case where column header is available then it will be available.</div>
<div class="MsoListParagraphCxSpMiddle" style="margin:0 0 0 .75in;"> </div>
<div class="MsoListParagraphCxSpMiddle" style="margin:0 0 0 .75in;"> </div>
<div class="MsoListParagraphCxSpMiddle" style="margin:0 0 0 .75in;"> </div>
<div class="MsoListParagraphCxSpMiddle" style="margin:0 0 0 .75in;text-indent:-.25in;">7. Last option is Preview when you can get the all data exported from the text file. Here is an option the “Data Row to Skip”. By that you can skip number rows to import from text file.</div>
<div class="MsoListParagraphCxSpLast" style="margin:0 0 8pt .75in;">By default you will see all the rows. After setting 2 and press refresh button you will see few rows are not available</div>
<div style="margin-left:.75in;text-indent:-.25in;">8. In the same way make another Flat file Connection rename it to ‘Connection for Import Attendance’. It will connect to Attendance text file and get data from there.</div>
<div class="MsoNormal" style="margin:0 0 8pt;"> </div>
<div class="MsoNormal" style="margin:0 0 8pt;"> </div>
<div class="MsoListParagraphCxSpFirst" style="margin:0 0 0 .5in;text-indent:-.5in;">Step :8 In this step we will go through the Configuration of an OLE DB Connection Manager name it </div>
<div class="MsoListParagraphCxSpMiddle" style="margin:0 0 0 .5in;">’ Connection ForWH Database’ from Property Window.</div>
<div class="MsoListParagraphCxSpLast" style="margin:0 0 8pt .75in;text-indent:-.25in;">1. Right-click > Connection Managers area>Select OLE DB Connection>click New.</div>
<div style="margin-left:.5in;"> </div>
<div style="margin-left:.5in;text-indent:-.25in;">1. Select Server name > set the authentication > Connect to the desired database.</div>
<div style="margin-left:.5in;text-indent:-.25in;">2. Click Test Connection to verify that the connection settings you have specified are valid.</div>
<div class="MsoListParagraphCxSpFirst" style="margin:0 0 0 .5in;text-indent:-.5in;">Step :9 In the step we are going to add Data Flow task by that extract, transform, and load (ETL) process occurs.</div>
<div class="MsoListParagraphCxSpMiddle" style="margin:0 0 0 .5in;text-indent:-.25in;">1. Click on the “Control Flow” of package design surface.</div>
<div class="MsoListParagraphCxSpMiddle" style="margin:0 0 0 .5in;text-indent:-.25in;">2. Add Data Flow Task from SSIS Toolbox </div>
<div class="MsoListParagraphCxSpMiddle" style="margin:0 0 0 .5in;text-indent:-.25in;">3. Go to Property Window Selecting it >Press ( Alt+ Enter or F4)</div>
<div class="MsoListParagraphCxSpMiddle" style="margin:0 0 0 .5in;text-indent:-.25in;">4. Select the Name property and rename it .</div>
<div class="MsoListParagraphCxSpMiddle" style="margin:0 0 0 .5in;text-indent:-.25in;">5. In this way ,Place the Execute SQL Task from Favorites and another Data Flow task so that it look</div>
<div class="MsoListParagraphCxSpMiddle" style="margin:0 0 0 .5in;">As below :</div>
<div class="MsoListParagraphCxSpLast" style="margin:0 0 8pt .5in;"> </div>
<div class="MsoNormal" style="margin:0 0 8pt;"> </div>
<div class="MsoListParagraph" style="margin:0 0 8pt .5in;"> </div>
<div class="MsoNormal" style="margin:0 0 8pt;"> </div>
<div class="MsoNormal" style="margin:0 0 8pt;">Step: 11 now go to Control flow tab</div>
<div class="MsoListParagraphCxSpFirst" style="margin:0 0 0 .5in;text-indent:-.25in;">1. Clicking the Data Flow tab </div>
<div class="MsoListParagraphCxSpMiddle" style="margin:0 0 0 .5in;text-indent:-.25in;">2. Drag Flat File Source from other Sources of toolbox and place onto the design surface of the Data Flow tab.</div>
<div class="MsoListParagraphCxSpMiddle" style="margin:0 0 0 .5in;text-indent:-.25in;">3. After that place OLE DB Destination from other Destination Sources.</div>
<div class="MsoListParagraphCxSpMiddle" style="margin:0 0 0 .5in;text-indent:-.25in;">4. Now Data Flow design Surface will be look like as below :</div>
<div class="MsoListParagraphCxSpMiddle" style="margin:0 0 0 .5in;"> </div>
<div class="MsoListParagraphCxSpMiddle" style="margin:0 0 0 .5in;"> </div>
<div class="MsoListParagraphCxSpMiddle" style="margin:0 0 0 .5in;"> </div>
<div class="MsoListParagraphCxSpMiddle" style="margin:0 0 0 .5in;text-indent:-.25in;">5. Double Click on ‘Flat File Source’ and Select the Flat file connection manager.</div>
<div class="MsoListParagraphCxSpMiddle" style="margin:0 0 0 .5in;"> </div>
<div class="MsoListParagraphCxSpMiddle" style="margin:0 0 0 .5in;"> </div>
<div class="MsoListParagraphCxSpMiddle" style="margin:0 0 0 .5in;"> </div>
<div class="MsoListParagraphCxSpMiddle" style="margin:0 0 0 .5in;text-indent:-.25in;">6. Next go to the Column option now you available column will be come from flat file. Better to cross check the columns with text file. If any mismatch found then check the row and column .delimiter setting of flat file connection manager. </div>
<div class="MsoListParagraphCxSpMiddle" style="margin:0 0 0 .5in;"> </div>
<div class="MsoListParagraphCxSpMiddle" style="margin:0 0 0 .5in;text-indent:-.25in;">7. Press OK button. Now connect to Blue arrow with the OLE DB Destination by drag the arrow and drop it on to the OLE DB Destination.</div>
<div class="MsoListParagraphCxSpMiddle" style="margin:0 0 0 .5in;text-indent:-.25in;">8. Now we are going to configure the OLE DB Destination. Press double click on OLE DB connection manager set Connection Manger, Data Access mode and name of the table or then view.</div>
<div class="MsoListParagraphCxSpMiddle" style="margin:0 0 0 .5in;"> </div>
<div class="MsoListParagraphCxSpMiddle" style="margin:0 0 0 .5in;"> </div>
<div class="MsoListParagraphCxSpMiddle" style="margin:0 0 0 .5in;text-indent:-.25in;">9. After that go to Mapping option, existing mapping between source and destination will be viewable here :</div>
<div class="MsoListParagraphCxSpMiddle" style="margin:0 0 0 .5in;"> </div>
<div class="MsoListParagraphCxSpMiddle" style="margin:0 0 0 .5in;"> </div>
<div class="MsoListParagraphCxSpMiddle" style="margin:0 0 0 .5in;"> </div>
<div class="MsoListParagraphCxSpLast" style="margin:0 0 8pt .5in;"> </div>
<div style="margin-left:.5in;text-indent:-.25in;">10. Now we have to do same for Data Flow task attendance.</div>
<div style="margin-left:.5in;"> </div>
<div style="margin-left:.5in;text-indent:-.25in;">11. Click on the Control Flow task. We have to configure the Execute SQL Task. Double Click on it and Execute SQL Task dialog box will appear .Copy below SQL and paste it to the SQL Statement of Execute SQL Task. </div>
<div style="margin-left:.5in;"> </div>
<div style="margin-left:.5in;"> </div>
<div style="margin-left:.5in;text-indent:-.25in;">12. connect to Data Flow Task Employee, Execute SQL Task and Data Flow task Attendance </div>
<div class="MsoNormal" style="margin:0 0 8pt;">Step: 11 Now we will do debugging. Go to Debug menu, click Start Debugging. Now the package will run. </div>
<div class="MsoNormal" style="margin:0 0 8pt;"> </div>
<div style="margin-left:.5in;"> </div>
Step: 11 After the package has completed running, on the Debug menu, click Stop Debugging.
</div>